Search...
Using the Editor
Once your 3D models are uploaded, you will see an editor which gives you access to all the settings required to get your model ready for web publishing.
1. Product Details
Add Details to improve searchability and indexing for 3D Digital Asset Management
Name
The Parent name of your 3D object(s). If you have Variants - this will be the parent name
Categories
Assign categories the object belongs in.
📢 Categories currently cover home furnishing. For adding more categories or different sub-types relevant your sector, please fill our feedback form 🙏
</aside>
2. Variants
You can create mutliple variants that belong under the parent item.
Assign SKU or UUID to uniquely identify the variant
💡 Ensure these values match the SKU assigned in the ecommerce store/product page to use our JS integration to streamline webpage integration
These variants can either be:
Same object with different material finishes (texture, colour changes)
You can create a copy of the current variant by clicking "Copy to new variant"
Separate objects with varying sizes, dimensions and shapes
You can upload separate 3D objects using the "Upload New Variant"
3. Object Properties
Object Properties Allows you to select and Edit the properties of of each mesh object.
Use the dropdown to select the object. The name are adopted from the original upload.
Under Material, You can change the base colour of the object. Upload a new Diffuse texture to the object
Metalness:
Allows you to modify the metallic finish of the object
Roughness:
Allows you to modify the Roughness of the object
📢 Plans to Enable "Advanced Options" to access more advanced settings for power users
Annotations
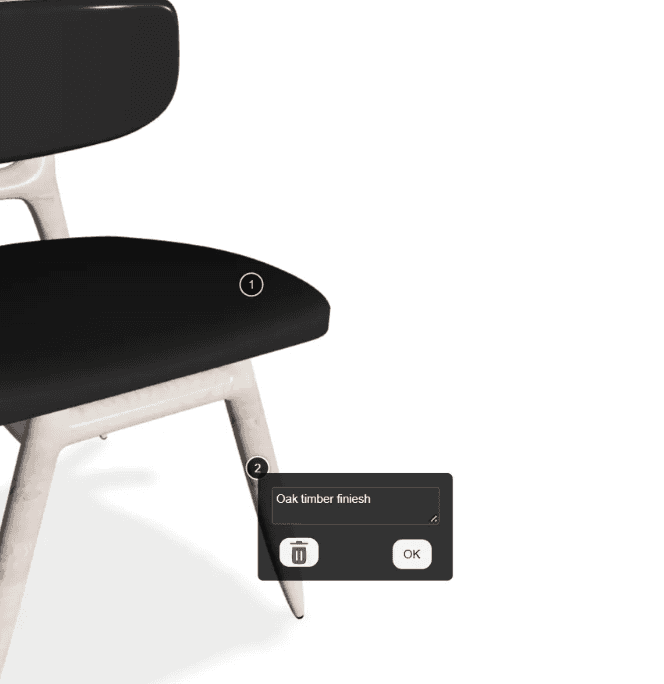
Double Click on the object in the editor to create Annotations.